Are you feeling overwhelmed about embedding closed captioning into YouTube videos? I have a simple guide with 7 easy steps to help you and it only takes minutes to do!
Steps 1-4
There are several steps shown in the video capture below, so lets break them down. This video shows the first 4 steps:
- Find a video on YouTube you want to use
- Click the ‘share’ button on the video
- Click ‘Embed’
- Click ‘Copy’ to copy the embed code
Step 5
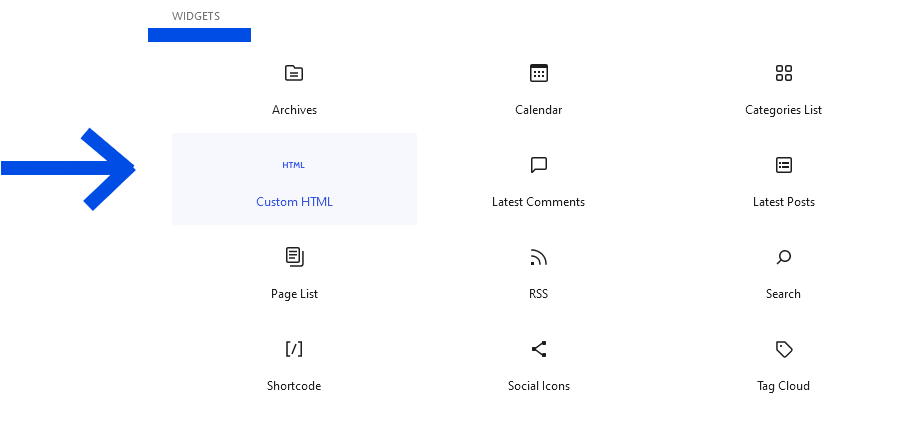
Next you’re going to go to your blog and click on the block that is ‘Custom HTML’ in WIDGETS. It should look like this:

Once selected, paste the copied video information into the Custom HTML block, but don’t upload the new block yet. It should look like this now:

Step 6
Now we add the code: &cc_load_policy=1 after the title code but before the word ‘title’ appears in the text. You can copy it from directly above this text.
It should look like this:

I have the added code highlighted in blue, but when it is pasted it won’t remain highlighted. Be careful to put it in the proper spot in the existing code! It needs to go inside the last quotation mark.
Step 7

Click on the box and hit ‘Preview’ up on the top of your blog post:
Your video should now be able to play with Closed Captioning embedded!
Video by Kids Academy from Youtube
Don’t worry if your captioning doesn’t work right away the first time. The hardest part is ensuring the CC code is placed in the right spot. You may need to practice it a couple of times before it feels easy, but practice promotes progression! Feel free to come back to this tutorial any time you need a refresher on how to embed closed captioning into a YouTube video.
Please leave feedback about how it worked for you or if you find any easier ways to accomplish accessibility!